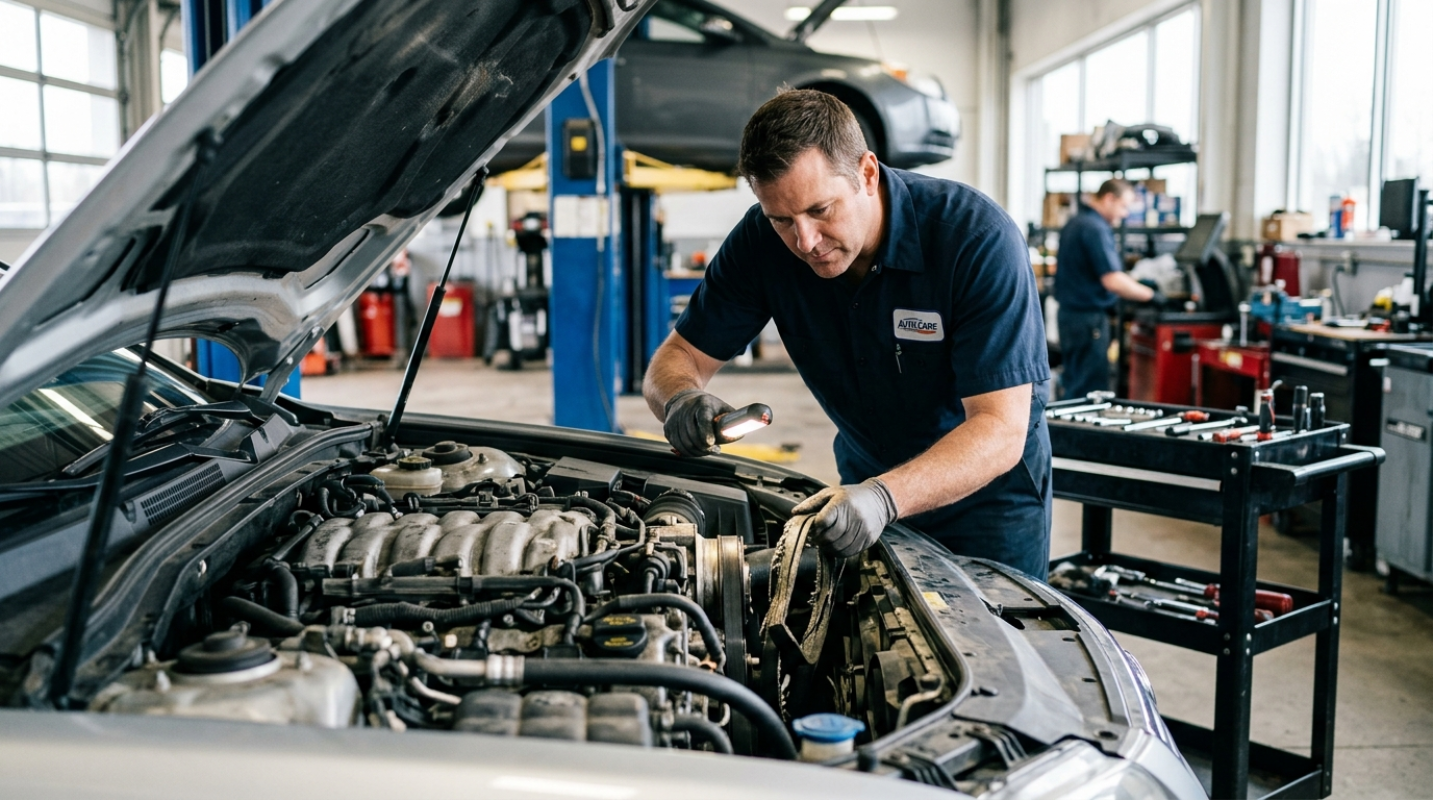
Maintaining your car's engine is crucial for its longevity and performance. One of the essential tasks is checking and replacing the oil regularly to ensure proper lubrication and prevent engine damage. Oil acts as the lifeblood of your engine, reducing friction between moving parts, carrying away heat, and trapping contaminants that could otherwise cause harm. By following a few simple steps, you can keep your car running smoothly and avoid costly repairs down the road.
Checking the Oil Level
To begin, park your car on a level surface and wait for the engine to cool down. This is essential as checking the oil when the engine is hot can yield inaccurate readings. Locate the oil dipstick, usually a brightly colored handle labeled "oil." Pull out the dipstick and wipe it clean with a rag. This initial wipe helps remove any oil residue that could affect your reading. Reinsert the dipstick fully, then pull it out again to check the oil level.
The oil level should fall between the two markers on the dipstick, indicating that it is at the correct level for optimal engine operation. If the oil level is below the lower mark, it’s essential to add oil to prevent engine damage. Be cautious not to overfill, as that can also lead to engine issues.
Checking the Oil Condition
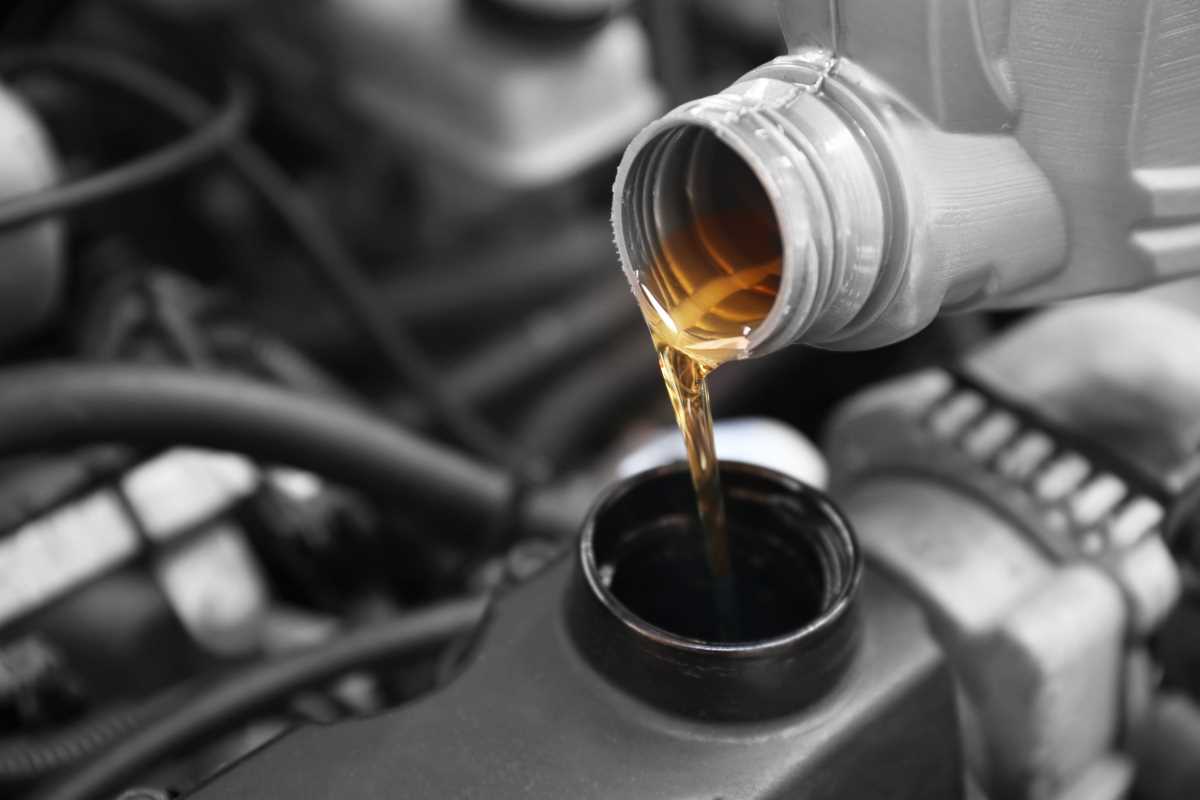
In addition to checking the oil level, it's essential to inspect the oil's condition. Healthy oil should be amber-colored and translucent, allowing for easy visibility of the dipstick markings. If the oil appears dark, gritty, or has a burnt smell, it's time for an oil change. Contaminated oil can lead to increased engine wear and reduced performance.
Furthermore, a thorough check can reveal other potential issues. For example, if the oil looks milky, it could indicate coolant mixing with the oil, pointing to a more serious problem such as a blown head gasket. Addressing these concerns early can save you from much larger repair bills down the line.
Choosing the Right Oil
When selecting oil for your car, refer to the manufacturer's recommendations in the owner's manual. Different cars require specific types of oil, such as conventional, synthetic, or a blend. Each type of oil has unique properties, and selecting the right one is crucial for maintaining engine performance.
Choosing the right oil viscosity is also important, as it affects how well the oil flows through your engine, especially during cold starts. The viscosity is indicated by two numbers on the oil container, such as 5W-30, where the first number represents the oil's flow at 0°F and the second number represents its flow at 212°F. Using the wrong oil can lead to increased friction, reduced fuel efficiency, and potential engine damage.
Draining and Replacing the Oil
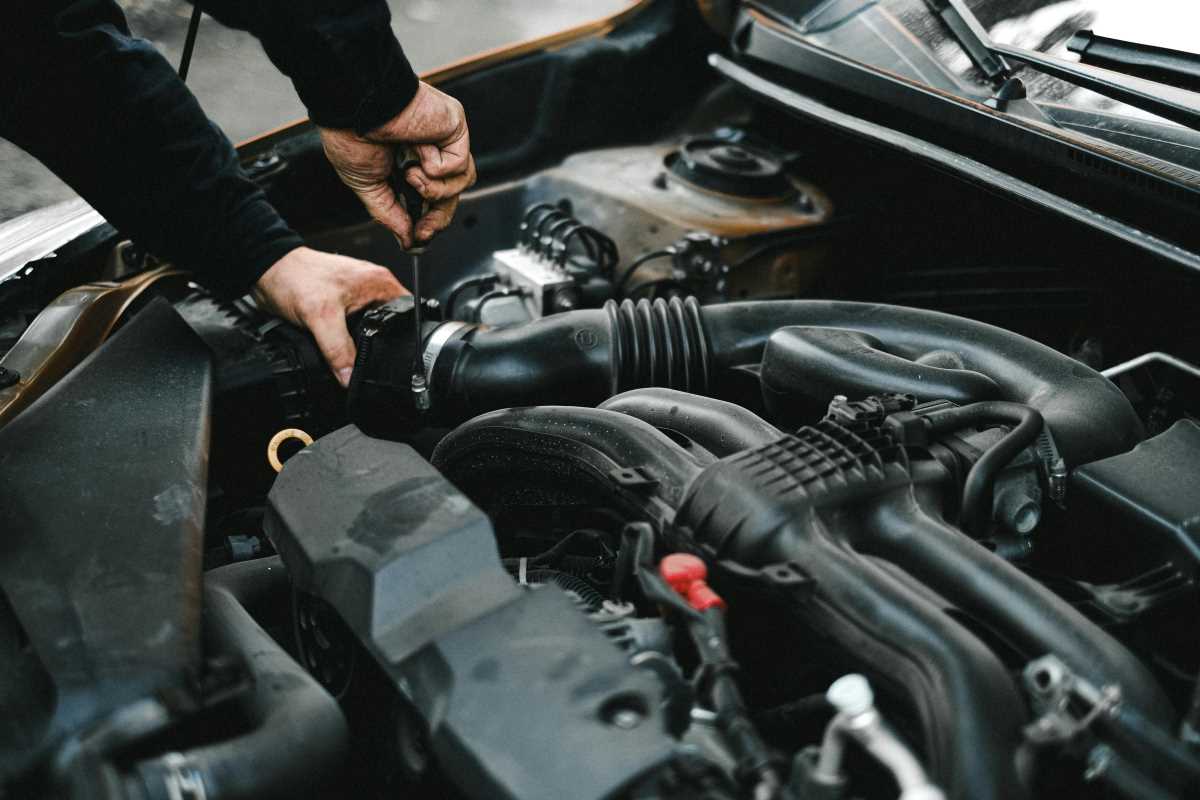
To change the oil, start by locating the oil drain plug beneath the engine. Before you begin, it’s wise to gather all the necessary supplies: an oil drain pan, a wrench, a new oil filter, and the correct type and amount of oil. Place a drain pan underneath the plug, then use a wrench to loosen and remove the plug. Allow the old oil to drain completely; this may take several minutes. Once fully drained, replace the drain plug securely to prevent leaks.
Next, locate the oil filter, usually near the drain plug. Use an oil filter wrench to remove it, being careful as some old oil may still be in the filter. Before installing the new oil filter, apply a small amount of fresh oil to the gasket. This helps create a better seal and makes it easier to remove the filter during the next change. Install the new oil filter and tighten it by hand. Finally, refill the engine with the recommended amount and type of oil through the oil filler cap.
Checking for Leaks and Proper Level
After changing the oil, start the engine and allow it to run for a few minutes to circulate the new oil. This circulation helps to lubricate all components of the engine effectively. Turn off the engine and check for any leaks around the drain plug and oil filter. If you notice any leaking oil, it may indicate that the drain plug is not secure or the oil filter isn’t tight enough.
Once you've ensured there are no leaks, monitor the oil level once more using the dipstick. Add more oil if needed to reach the optimal level. It’s always better to check twice to avoid overfilling. Double-check all connections and the oil filter to ensure everything is secure before hitting the road.
Establishing an Oil Change Schedule
Maintaining a regular oil change schedule is key to keeping your car in top condition and preventing costly engine repairs. Generally, it's recommended to change your oil every 5,000 to 7,500 miles, but always consult your owner’s manual for specific guidance related to your vehicle. If you frequently drive in extreme conditions—such as heavy traffic, extreme temperatures, or towing—more frequent changes may be necessary.
The Importance of Proper Maintenance
Regular oil checks and changes not only enhance the longevity of your engine but also contribute to overall vehicle performance and efficiency. Clean oil helps keep your engine components clean and reduces the likelihood of sludge build-up, which can lead to engine overheating and failure.
By following these essential steps to check and replace your car's oil, you can ensure smooth performance and prolong the life of your vehicle. Remember, proper maintenance is the key to a happy engine and a reliable ride for years to come. Making oil checks and changes a regular part of your vehicle care routine will undoubtedly pay off in the long run, keeping your car running efficiently and safely.