 (Image via
Every homeowner encounters minor issues around the house that can often be fixed without the need for a professional. Embracing the DIY spirit saves money and provides a sense of accomplishment. Here’s a guide to fixing some common household issues with ease.
Unclogging a Drain
Tools Needed: Plunger, baking soda, vinegar, boiling water
- Use a Plunger: First, try using a plunger on the clogged drain. Ensure there’s enough water in the sink or tub to cover the plunger's cup, then use firm up-and-down strokes.
- Baking Soda and Vinegar: If plunging doesn’t work, pour half a cup of baking soda followed by half a cup of vinegar down the drain. Wait 15 minutes and then flush with boiling water.
- Safety Precautions: Avoid using chemical drain cleaners as they can be harsh and damage pipes over time.
Fixing a Leaky Faucet
Tools Needed: Adjustable wrench, screwdriver, replacement washers or O-rings
- Turn Off the Water Supply: Locate the valve under the sink and turn it off to avoid water spillage.
- Disassemble the Faucet: Use a screwdriver to remove the handle, then an adjustable wrench to take apart the faucet.
- Replace Washers or O-rings: Inspect and replace worn washers or O-rings, which are common causes of leaks.
- Reassemble and Test: Put the faucet back together and turn the water supply back on to check for leaks.
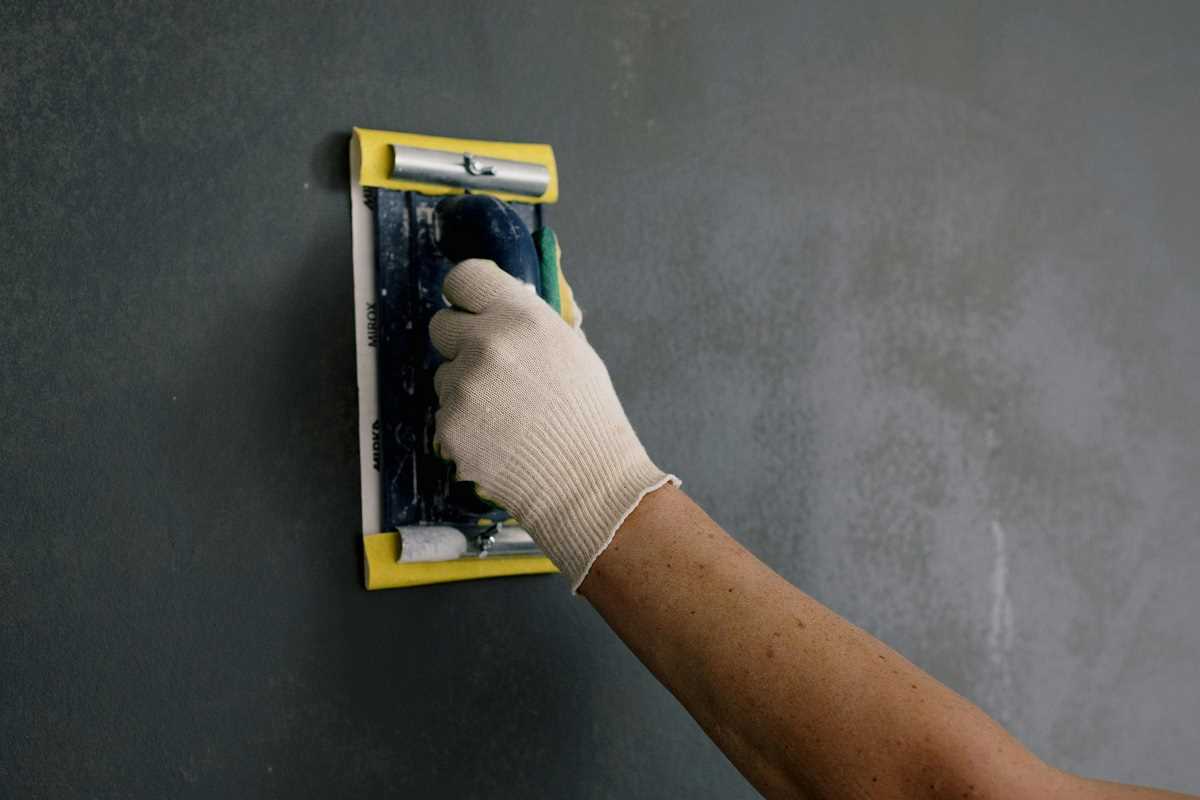
Patching Small Holes in Walls
Tools Needed: Putty knife, spackle or joint compound, sandpaper, paint
- Prepare the Surface: Clean around the hole to remove any debris or loose material.
- Fill the Hole: Use a putty knife to apply spackle or joint compound over the hole. Smooth it out and let it dry per the product instructions.
- Sand and Paint: Once dry, sand the area until smooth. Finish by painting over the patch to match the wall color.
Replacing a Light Switch
Tools Needed: Screwdriver, voltage tester
- Turn Off the Power: At the breaker box, turn off the power to the switch you’re replacing.
- Remove the Old Switch: Unscrew the faceplate and use a voltage tester to ensure there’s no electricity flowing. Remove the screws holding the switch and gently pull it out.
- Install the New Switch: Disconnect the wires from the old switch and attach them to the new one in the same configuration. Secure the switch into the wall and replace the faceplate.
- Restore Power and Test: Turn the power back on at the breaker and test the switch.
Additional Tips for DIY Success
- Research: Before starting any DIY project, take time to research and understand the task at hand.
- Safety First: Always prioritize safety by wearing protective gear and turning off power supplies when necessary.
- Right Tools: Ensure you have the right tools to make the job easier and more efficient.
Empowering yourself with the skills to handle these minor home repairs can lead to significant savings and the satisfaction of maintaining your home effectively. Dive into these projects with confidence, knowing that a little effort can go a long way in keeping your household running smoothly.